


How to Start Online Store With WooCommerce and WordPress
I was getting many queries from the readers on how they can Start Online Store With WooCommerce and WordPress. Instead of telling them separately, I decided to write down a tutorial. In this tutorial, I am going to teach you how you can set up WooCommerce and WordPress store to sell the products online.
So, let’s get started.
WooCommerce is the best way to convert your WordPress website into a fully functional e-commerce store. Here are the specifications:
- WooCommerce is a WordPress plugin. It needs to be installed like any other plugin.
- It is the free and open source – just like WordPress. You don’t need any license and nothing gets expired.
- It is the most popular e-commerce plugin for WordPress.
- It is also the most feature rich plugin too.
- You can set it up and configure it on your own.
- The setup of takes just a few hours.
What products can you sell on WordPress + Woocommerce
You can sell anything you want:
- Physical products
- Services
- Subscriptions
- Digital products
- Affiliate products
Start Online Store With WooCommerce and WordPress
Now, let us get to the business. Following is a step by step approach to creating a fully functional e-commerce store. The aim of this tutorial is to show you the simplest way to create an e-commerce store so that you focus more on the essential aspects and advanced we can talk in some other article.
Step 1: Get a Domain Name and Web Hosting
In order to start your online store or any other website, you need to have two things;
A domain name which is the unique address on the web.
Web hosting which is basically a remote computer that saves your website data and serves it.
There are numerous web hosting providers but some of my personal favourites are Bluehost, Hostinger, and Hostgator. You can get WordPress hosting, where you can list of premium themes. They all provide reliable and secured web hosting services.


Choose the domain name that goes with your business. Once the hostname is selected, finalize and set up the hosting fees. I personally Recommend to use Bluehost Web hosting+ domain, if you are starting an online store, because it has less downtime as compare to others.

Step 2: Install the WordPress
The next step is to install the WordPress on your purchased domain. Installing the WordPress might seems difficult for some, but actually, it is not. Nowadays, web hosting providers are providing one-click installation for the WordPress. Click on Install WordPress on your account and just follow the instructions. You will be taken through a series of steps.
After all these steps, you should have a blank WordPress installed. You can see it by:
Going to your domain name (websitename.com)
Or, going to the admin panel (websitename.com/wp-admin)
Step 3: Install the Woocommerce Plugin
The next step is to install the WooCommerce plugin in your website. Just go to Dashboard > Plugins > Add New. Type WooCommerce in the search field and you will see WooCommerce in the search result.
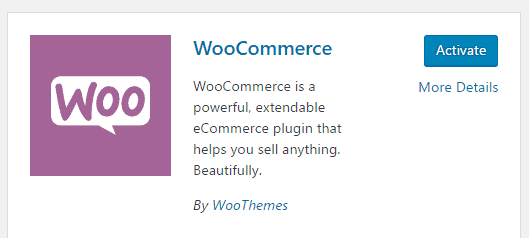
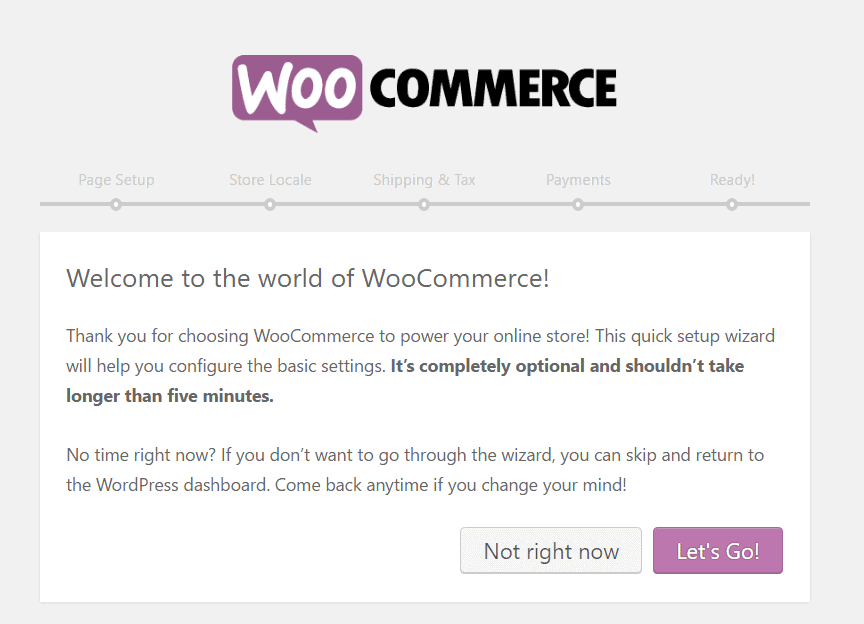
Click on the install now button. After a few seconds of downloading and installing, the button text will change to “Activate”. Just go ahead and click on activate. After clicking on it, you will see a WooCommerce setup wizard. This makes the process pretty easy. To begin, click on “Let’s Go”.
Create the essential pages
Online stores are a particular kind of websites that require a particular type of pages. Here you can read about the WooCommerce Documentation. The first step in the WooCommerce setup wizard is to create these pages:
- Shop: the page where all your products will be listed.
- Cart: the page which has items that your users have selected.
- Checkout: the page where customers can make an order and pay for it.
- My account: the profile page that contains all the information of the user.
All you need to do is to click on the continue and WooCommerce will set the pages for you.
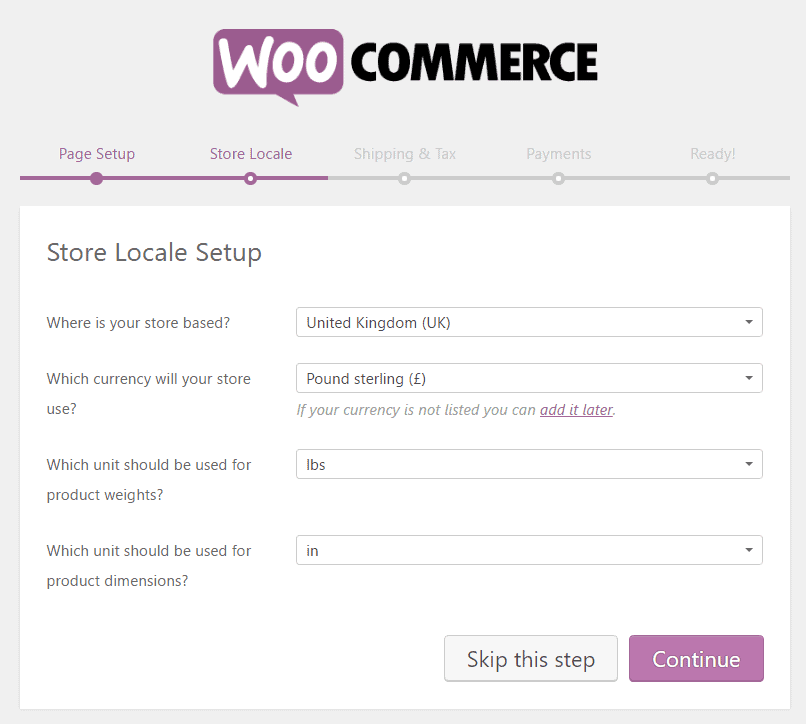
Store Locale setup
The locale setup is a crucial part of the store setup. These are the parameters that define your business origin, currency, and preferred units. Once completed, click continue again.
Understand Sales Tax
Tax is an integral part of running an e-commerce store. WooCommerce also helps you in this area also. First, you have to select that whether you are going to ship the goods or not. If you check the box, WooCommerce will set the remaining shipping details. Next, WooCommerce will show you a new set of boxes will appear. Just fill in the tax rate information and you are ready to go. To go to the next step, click continue.
Pick Payment Method
The next step is to pick a payment method. There are two payment methods available. Paypal and Stripe. It is recommended that you integrate your website with both of them. Click on Continue when done.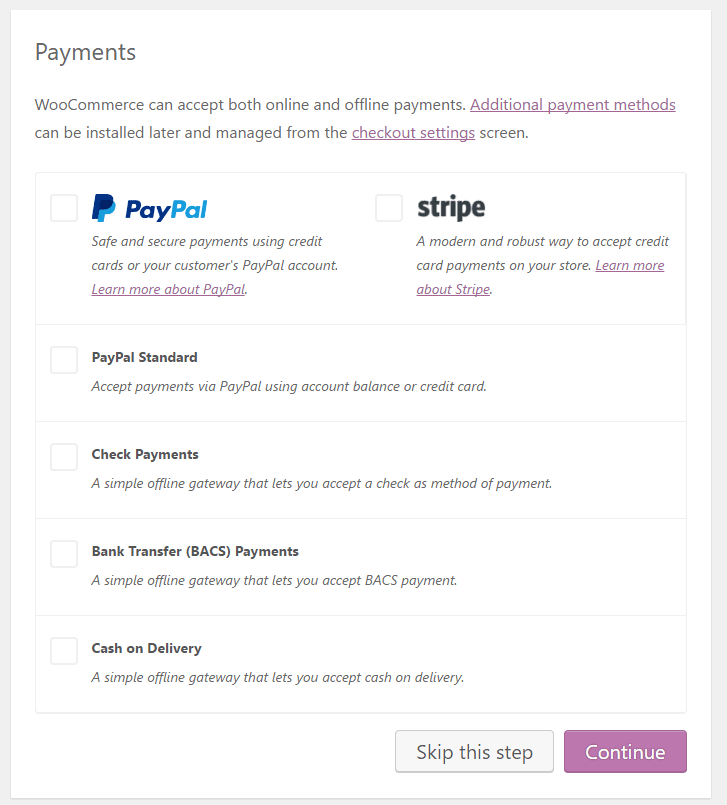
Step 4: Add your First Product
Now, you have reached the step where you can add the products to the database. Go to Dashboard > Products > Add Products. Here, you will see a classic WordPress content editing screen. Fill in all the product information:
- Product Name
- Product Description
- Central product data section
- Short description
- Product categories
- Tags
- Image
- Product gallery to show additional images
Once you are done with this, click on the publish button. You just added your first product.
Step 5: Choose a Theme
There is a reason to why I chose how to add the product to the store before discussing the appearance of the website. This is because, without having products in the database, you won’t be able to see how your pages would look like. You can choose WordPress current theme or you can go for the Customized E-commerce theme. Choose the theme that best suits your product type. Here are some WordPress Premium themes on Themeforest, mythemeshop, theme-junkie you can buy for your Online Store.
- WooShop Review – Highly Professional WordPress WooCommerce Theme
- WooCart – Premium eCommerce WordPress Theme
Step 6: Extending WooCommerce
There is one thing that makes WooCommerce such an impressive solution. This is because there are plenty of extensions and plugins available for it. Some of the plugins worth mentioning are:
- Payment Gateways: The extension allows you to accept more payment methods in addition to the standard Paypal method. The more payment methods, the better.
- Shipping Extensions: Shipping extensions are useful when you automatically want to integrate the rates from the companies.
- Accounting Extensions: You can also integrate your e-commerce store with the accounting tool of your choice.
- WooCommerce Subscriptions: Let your customers subscribe to your products or services on a weekly, monthly or yearly basis.
Final Take
As you can see from the tutorial that Start Online Store With WooCommerce and WordPress is not that difficult. But that is awesome considering that five years ago, you would need to pay more than $5000 to create something similar. But now, you can create everything on your own.
So what are you waiting for! Start Online Store With WooCommerce and WordPress hosting now.

No Comments